Note: Free accounts are limited to one server at a time with specific resource limits.
Please be aware that inactive free servers are regularly purged to maintain availability for all users.
Step 1: Access the Dashboard
Navigate to https://dash.daki.cc/dashboard. If you are not currently logged in, you will be prompted to do so.Step 2: Open Server Management
Once on the dashboard, click on the Server button in the navigation menu.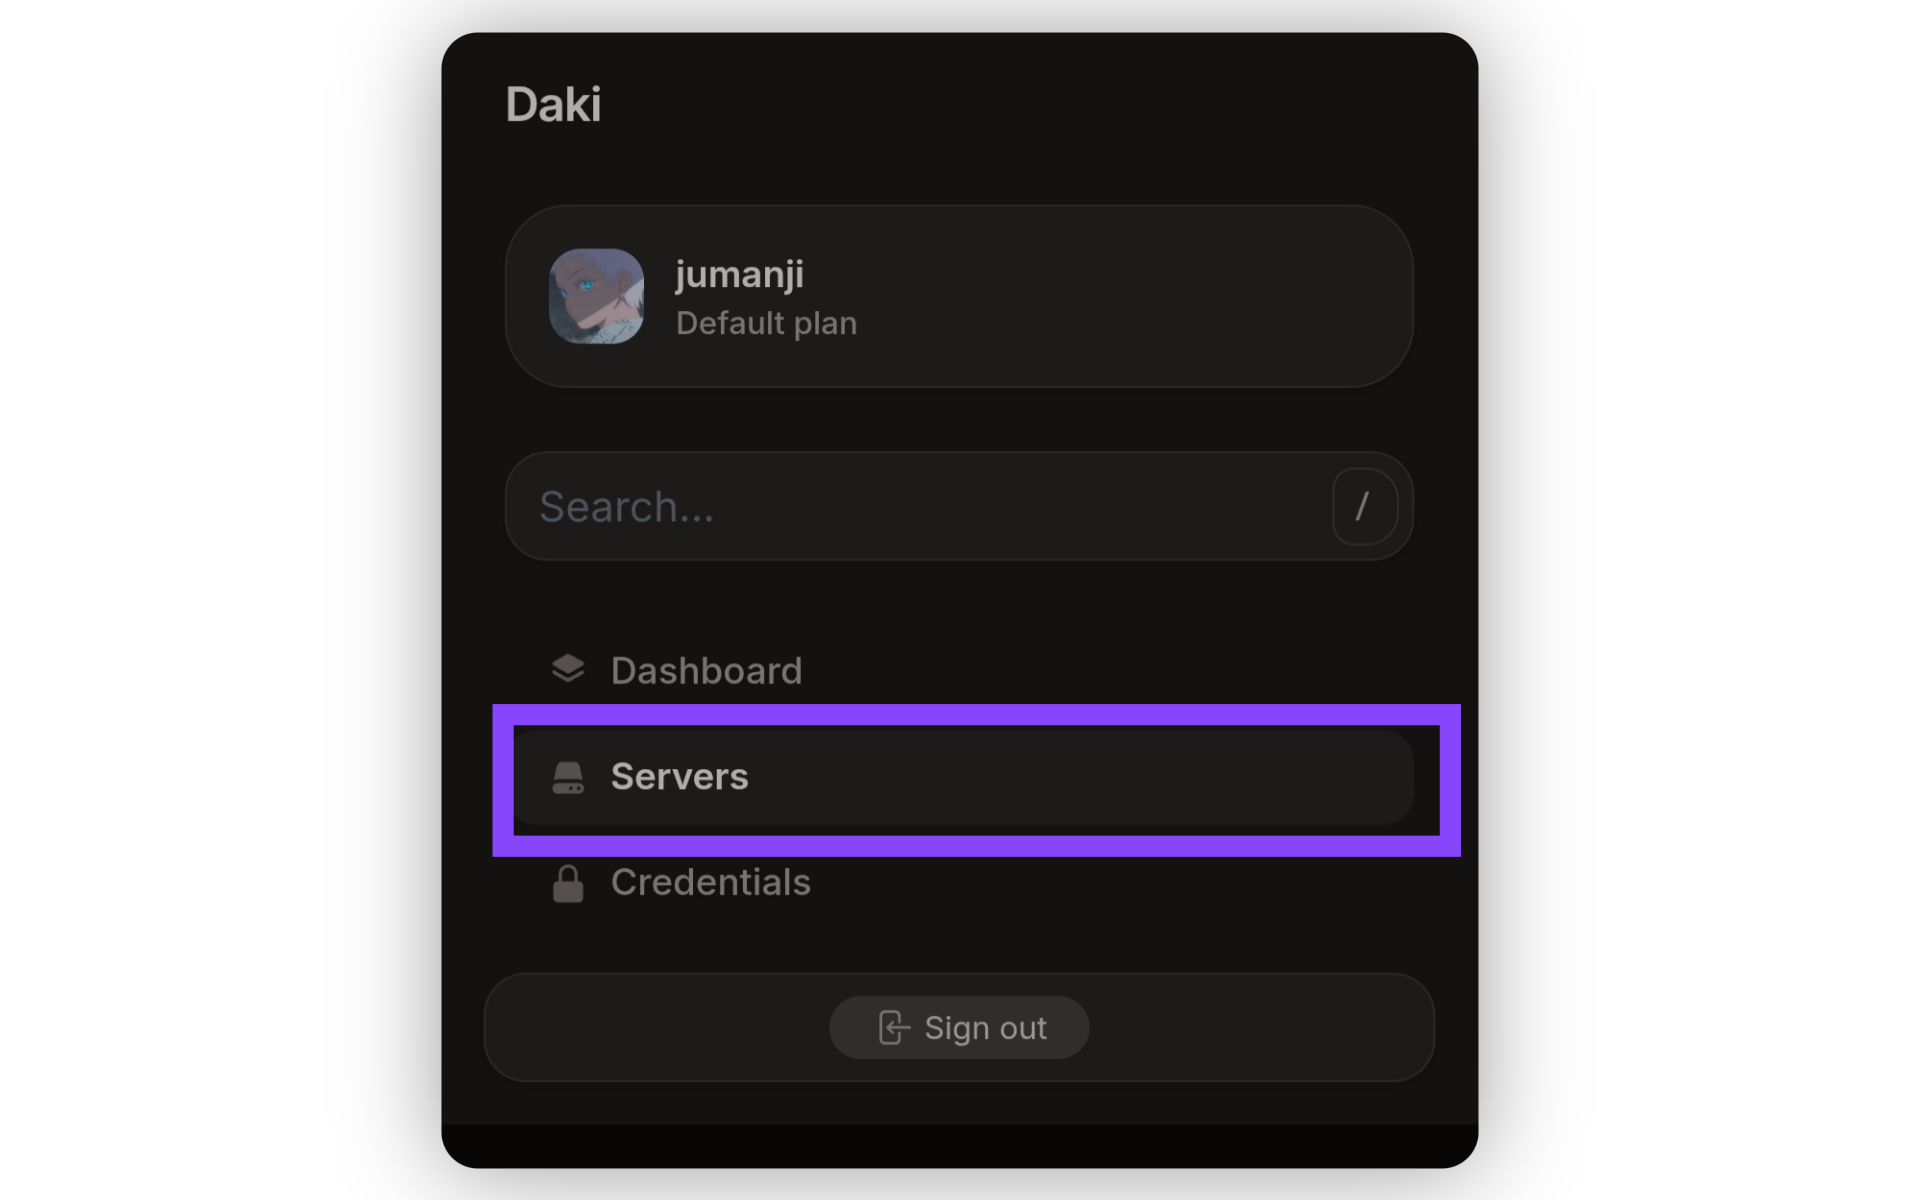
Step 3: Create your new free Server
Locate and click the “Create” button to begin setting up your new instance.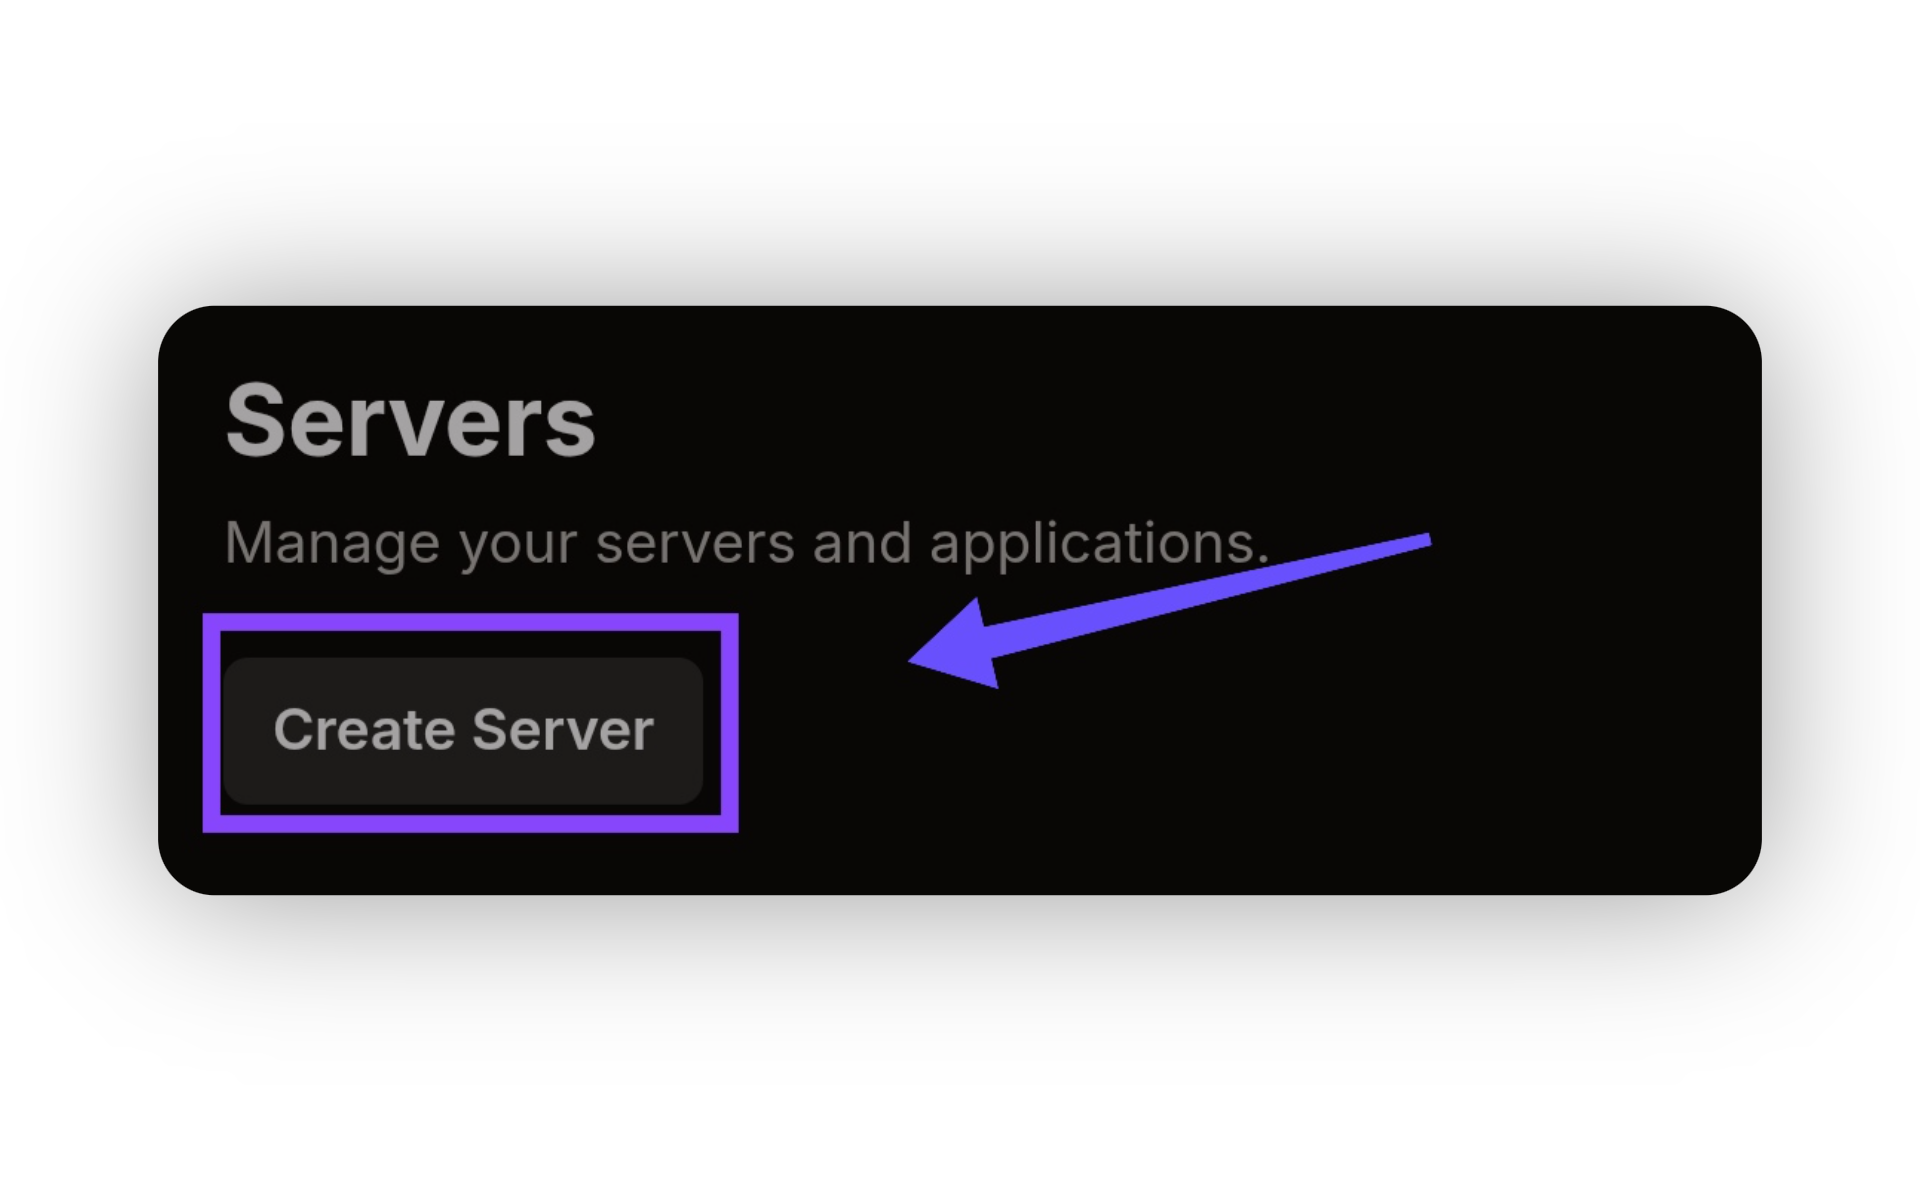
Step 4: Configure Server Details
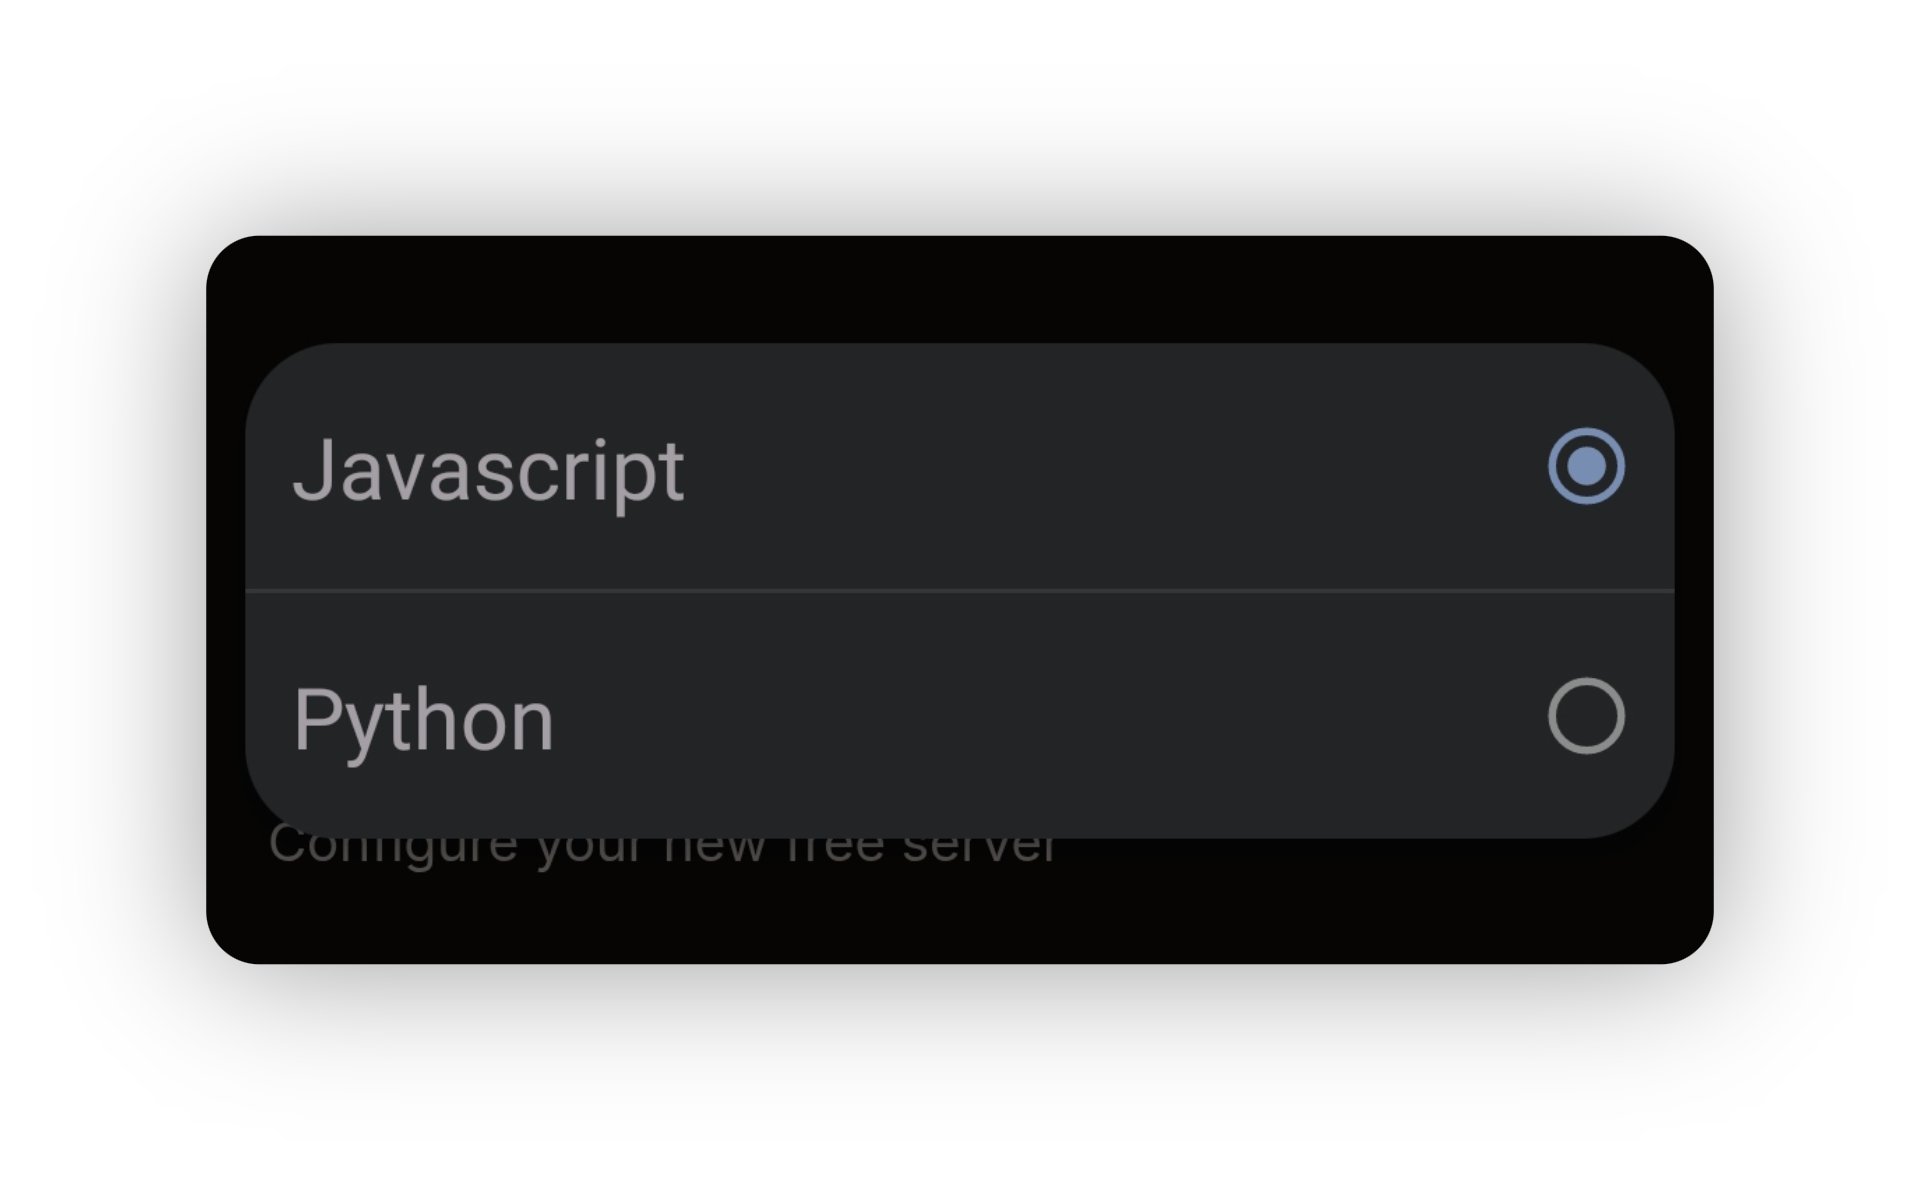
Enter a name for your project and select the appropriate programming language (Egg) for your app from the dropdown menu.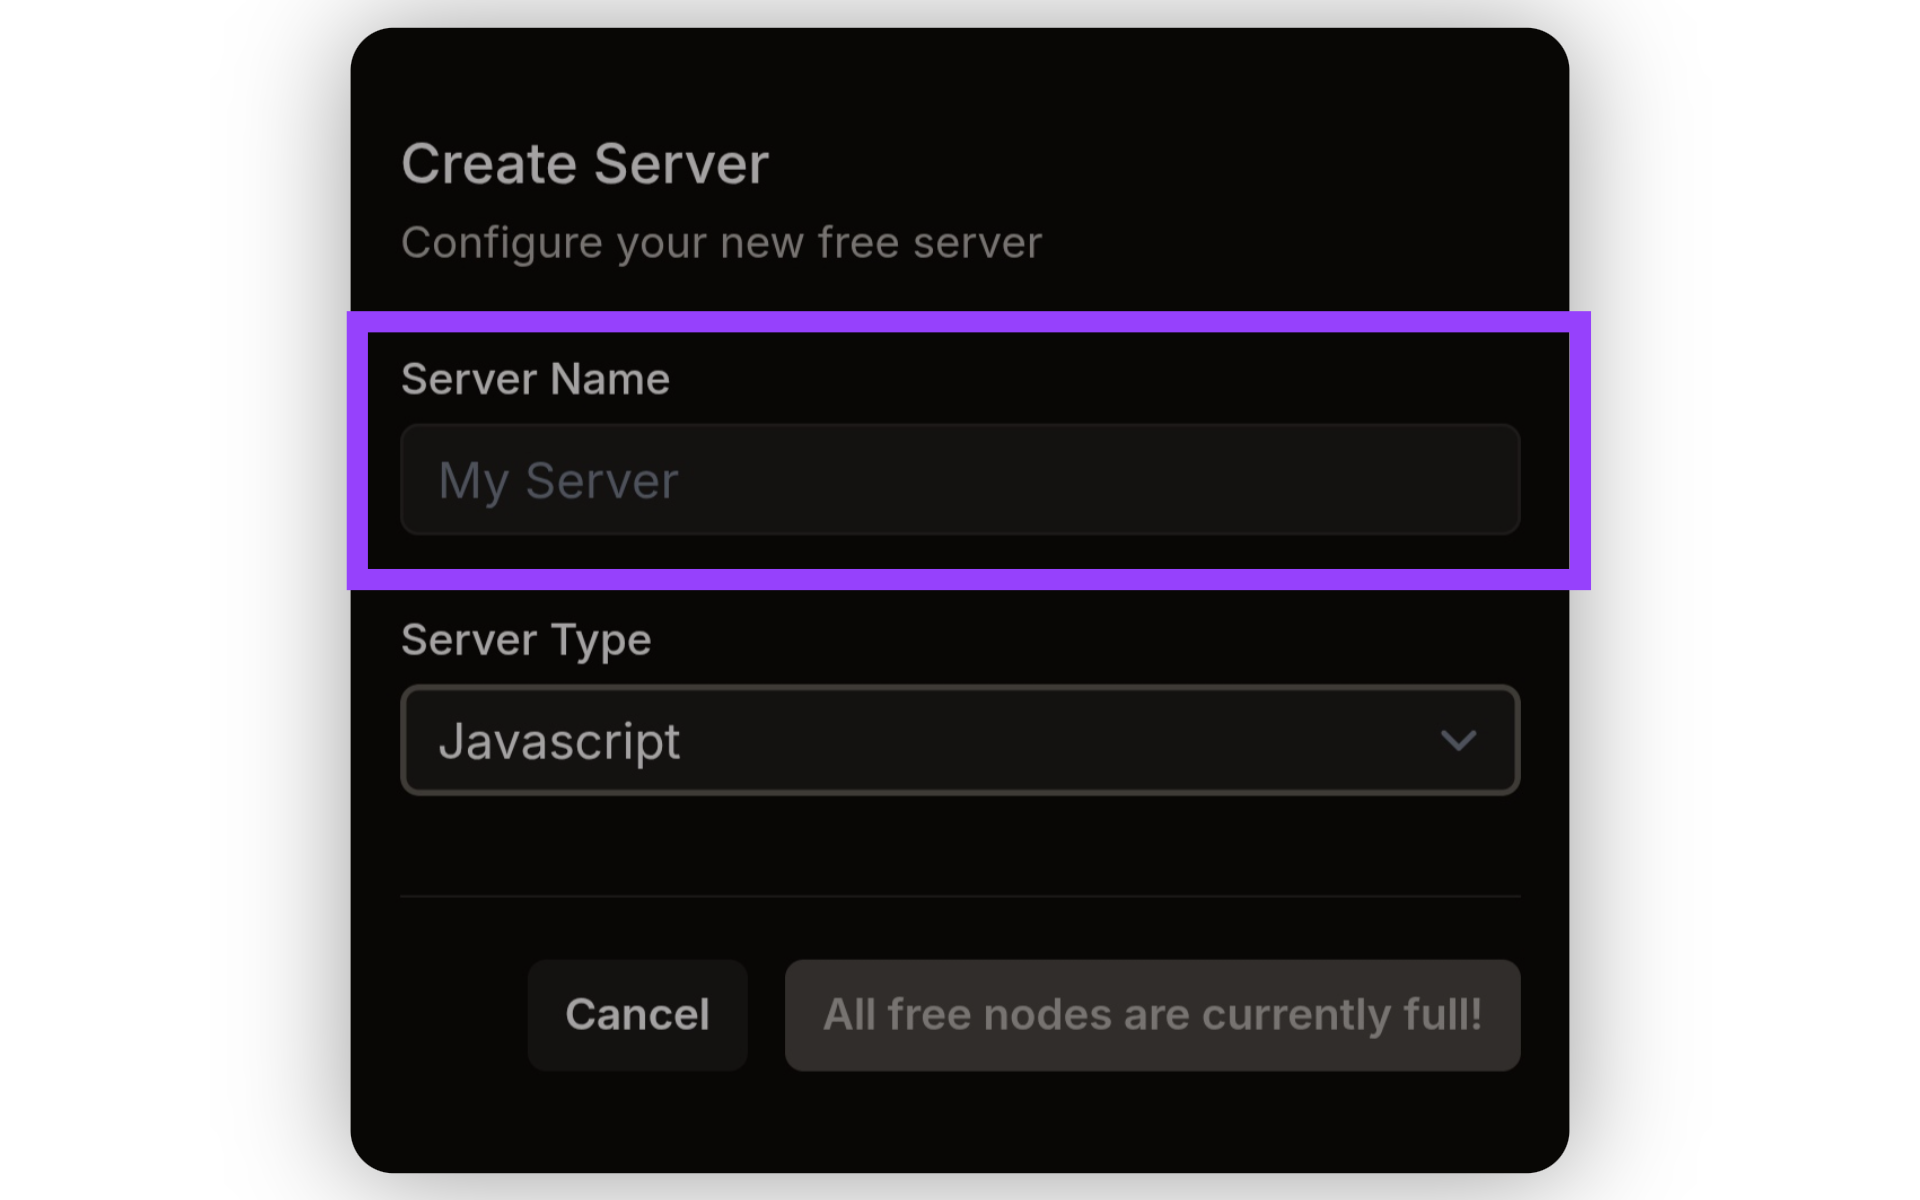
Step 5: Finalize Creation
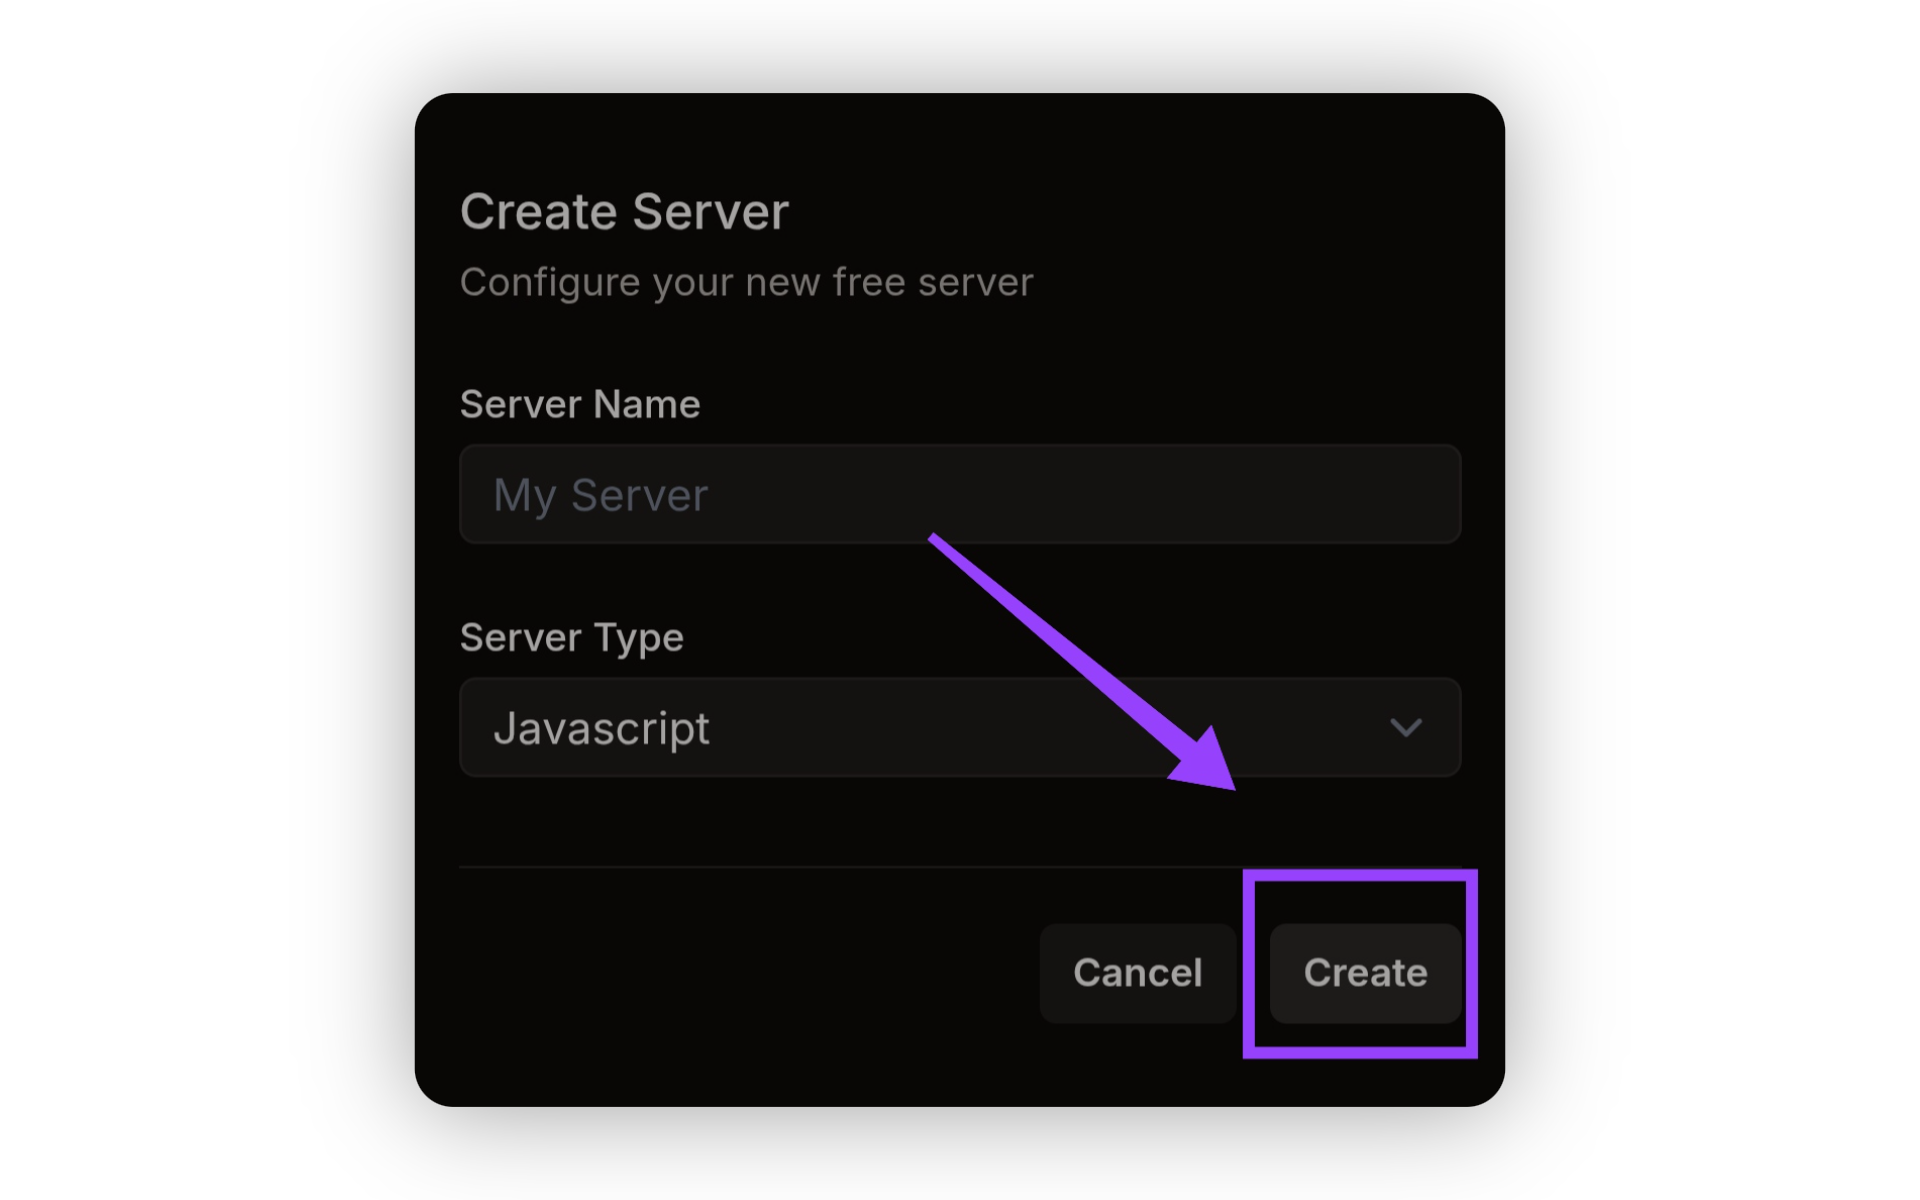
Click the Create button to finish the setup. You are all done! Your server is now active, and you can start hosting your application for free.